Allegion Developer Portal
Allegion Developer Portal

You may connect to the Card Reader using either the USB or the WiFi mode.
| a. Select Settings | b. Select Comm Mode | c. Select USB Mode |
|---|---|---|
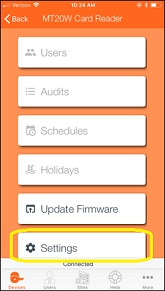 | 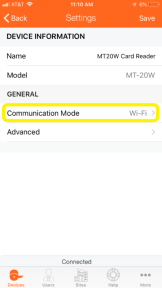 |  |
MT20W light interpretation remains the same.
The Desktop Application acts as a transmitter/receiver between the MT20W and the ENGAGE Web Application.
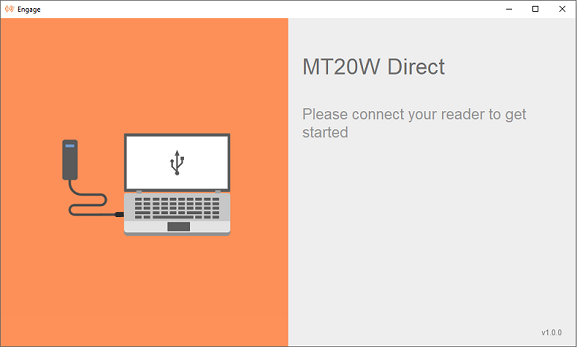
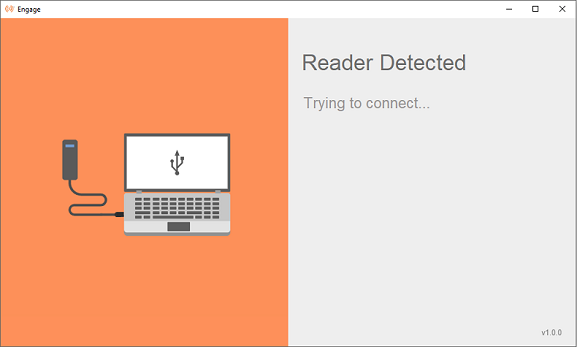
On opening the ENGAGE Desktop Application, the information on the screen instructs you to connect the MT20W to your PC to get started (Figure 1).
Figure 1: MT20W Direct
Once you plug the MT20W into the USB port on the PC, the ENGAGE Desktop Application detects the reader and begins communication (Figure 2 & 3).
NOTE: The ENGAGE Application does not start automatically when the MT20W is first connected. When using USB communication, the ENGAGE Desktop Application must be running.
After power up, the MT20W must go through a boot up process BEFORE a connection is accomplished. Be patient, this may take a few seconds.
Figure 2: Reader Detected
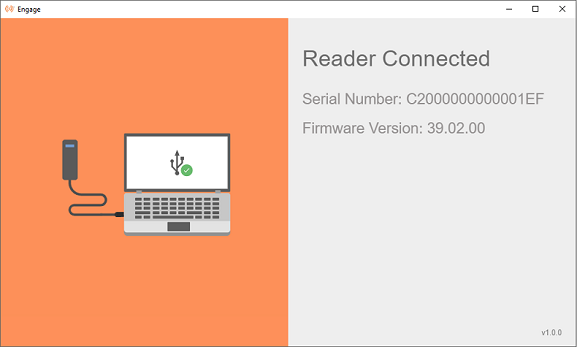
After the connection is established, the serial number and firmware version of the ENGAGE Desktop Application displays on the screen (Figure 3).
Figure 3: Reader Connected
NOTE: If you close the ENGAGE Desktop Application on the PC by clicking on the ‘X’ in the upper right-hand corner, you must restart it again before USB communication is available. The MT20W shows a solid RED LED in this case.
The ENGAGE Icon symbol
shows in your PC system tray anytime the ENGAGE Application is running.
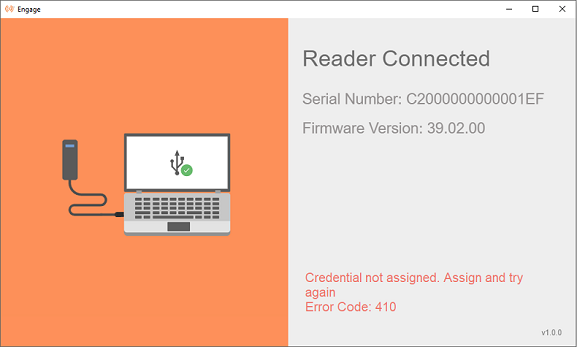
If any error occurs during the communication, an error message along with the error code displays on the screen along with a notification (Figure 4).
Figure 4: Error Detected
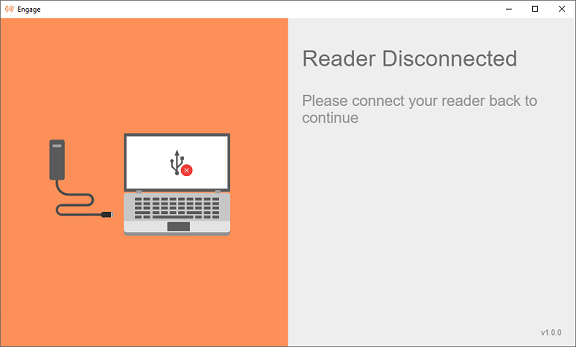
When the reader is un-plugged from the Desktop/System, the Application screen shows that the reader is disconnected (Figure 5).
Figure 5: Reader Disconnected
If you intend to use WiFi instead of USB Direct Mode, and the MT20W has already been commissioned in an earlier process, perform the following steps to enable WiFi.
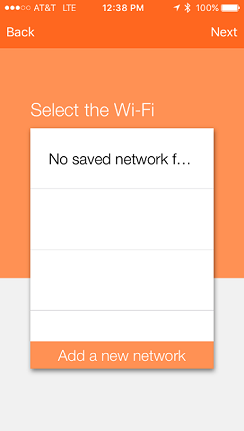
WARNING: A Saved Network MUST be locally available at the location where the device is being installed and commissioned. Be sure a saved WiFi network is present and locally available before selection.
If there are no saved WiFi networks, a new network MUST be added. (see the Adding a new WiFi Network section).
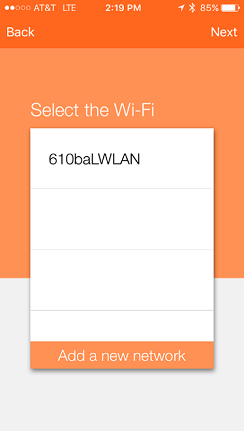
When a Saved Network is available, the property administrator may select that WiFi network for quick and accurate data entry.
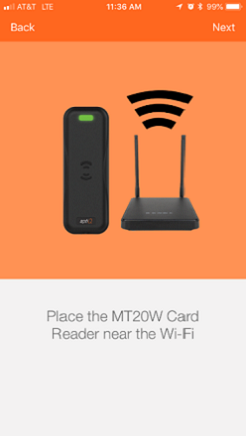
Ensure the Schlage MT20W is in signal range of the local WiFi network access point.
Select Next.
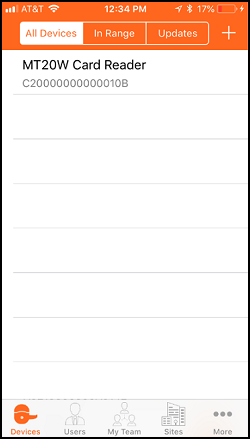
Confirm the Schlage MT20W Credential Reader selected for Commissioning.
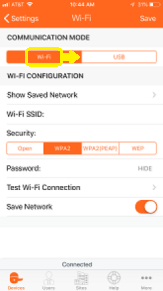
| a. Select Settings | b. Select Comm Mode | c. Select WiFi Mode |
|---|---|---|
|  |  |
| No Saved WiFi Networks | One Saved WiFi Network Available |
|---|---|
 |  |
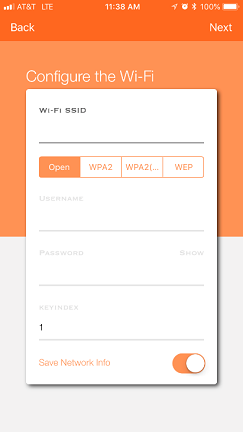
Enter the WiFi SSID.
This is the name of the local wireless local area network
This entry must be EXACT and is CASE SENSITIVE
Select the WiFi Security used by the local area wireless network
NOTE: Depending on the WiFi network security chosen, you may need to enter different information. Those items highlighted in the screen below (not grayed out) are required.
In this case we chose WiFi SSID 610baLWLAN and the WPA2 (PEAP) network security protocol. Both a Username and Password are required.
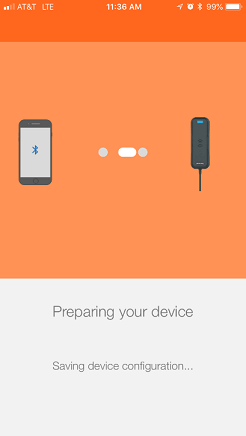
NOTE: The WiFi network settings can now be programmed into the Schlage MT20W and the Schlage MT20W connects to the local WiFi network using the entered network settings. Wait a few moments until the Schlage MT20W provides a solid Blue LED indicating it has successfully connected with the local wireless area network.

WARNING: If the Schlage MT20W does not provide a solid Blue LED and tries to reconnect but fails, the WiFi network settings are not entered correctly or the local WiFi network is not present.
HINT: You can also verify the local network security settings by using your Mobile Phone to enter the network settings and temporarily connect to verify local WiFi network connection requirements.
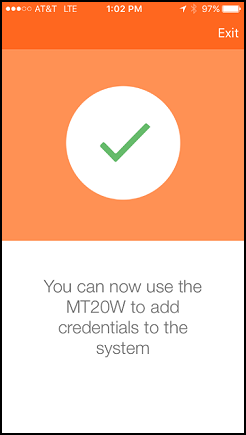
Acknowledge the “Setup Complete” message.
Select Exit.
VERIFY SUCCESS
NOTES:
The Schlage MT20W solid BLUE “Connected” LED display indicates the Schlage MT20W is connected to the local wireless WiFi network and operating properly.
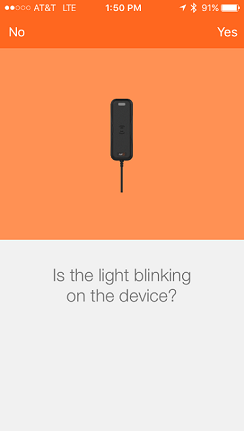
The Schlage MT20W flashes BLUE quickly while trying to connect with the local WiFi network.
When the local WiFi network connection fails, the Schlage MT20W displays a solid RED LED.
When the local WiFi network is not available (failed or down for maintenance), the Schlage MT20W automatically retries to reconnect to the local WiFi network every few minutes.
 | then… | |
|---|
NOTE: The Schlage MT20W resets and tries to connect to the local WiFi network using the saved network settings. Be patient, wait a few moments while the Schlage MT20W tries to connect to the local WiFi (fast Blue LED blinking) and then provides a solid Blue LED indicating it has successfully connected to the local WiFi network.
WARNING: If the Schlage MT20W does not provide a solid Blue LED and tries to reconnect but fails, the WiFi network settings are not correct or the local WiFi network is not present.
HINT: You can also verify the local network security settings by using your mobile phone to enter the network settings and temporarily connect with your phone. When successful, the local WiFi network connection requirements are verified and can be re-entered as a saved network.
Last Modified: October 15, 2019